Tuesday, December 19, 2006

The Big Shock! - March 26, 2006

What's the big shock, you ask? We are operating on the new layout less than two months after starting destruction of the old layout. We had the first operating session on the BS&T on March 26, 2006. There's still lots of things to do, and problems that need to be repaired, but trains are moving. Actually the first several sessions will be "break in" sessions to work out track and operations issues.

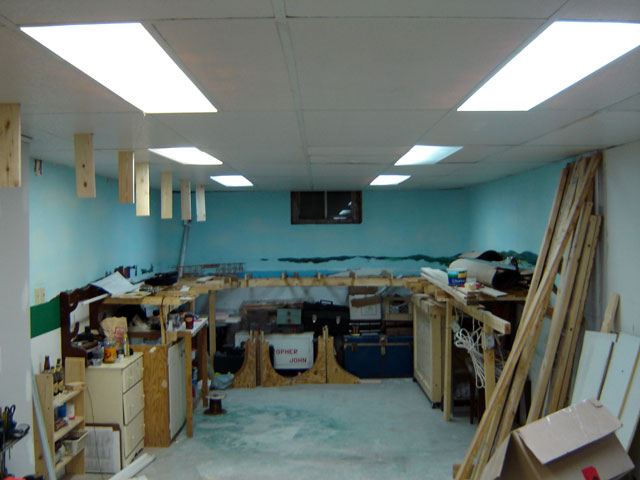
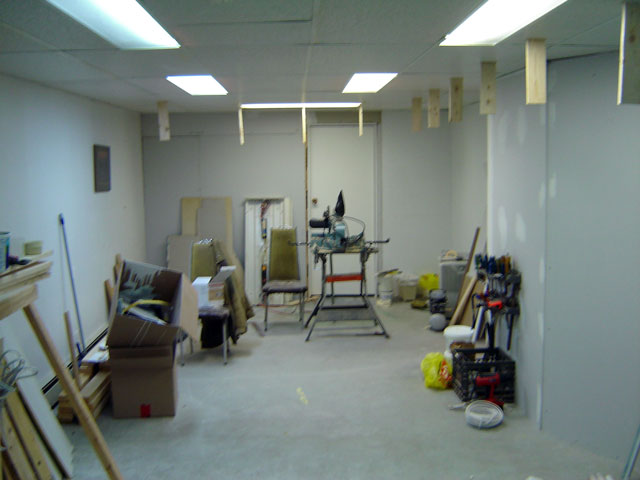
Anyway, here is the view looking east to Stevenville. I still have the cheap dollar store CF bulbs. Those will be replaced soon. I have a few of the buildings from the old layout scattered around, but it's going to take a whole lot more to complete this layout. The few that I do have look pretty measly.


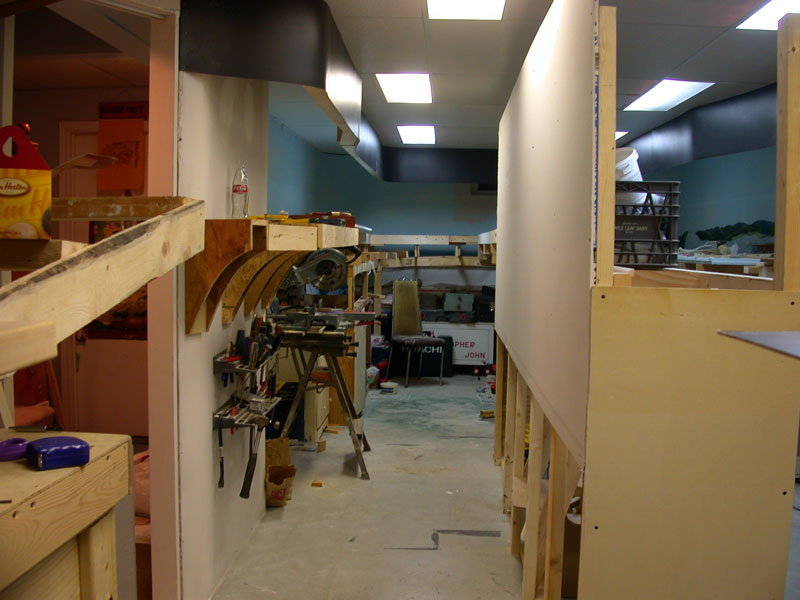
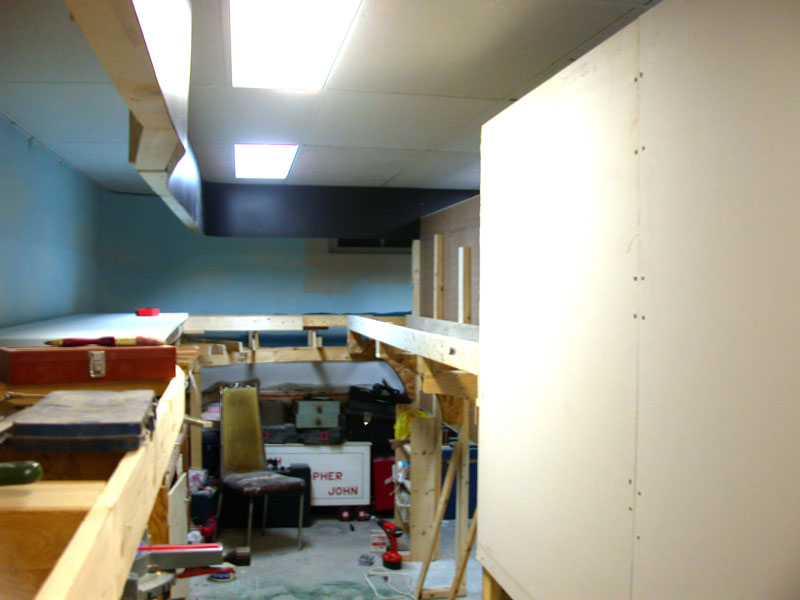
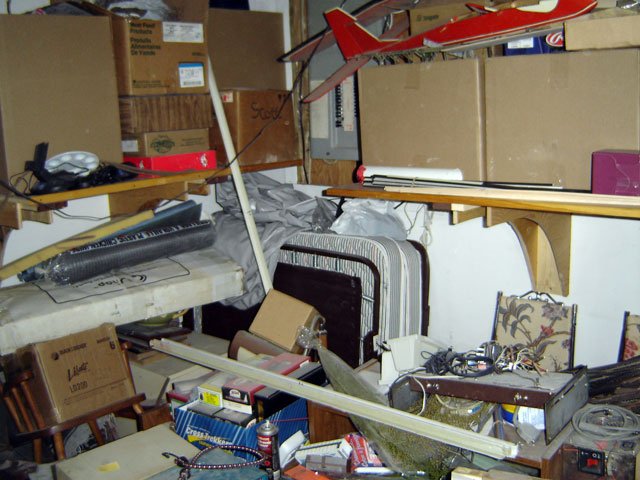
This is a westward view toward Chappellton. Tidewater Yard is on the left. I'm not sure what the scenery will be on this side. The curved section on the right may go around a hill to visually separate Chappellton from Kenville. I wasn't exactly happy with the track arrangement in Chappellton. I'll have to work on that.


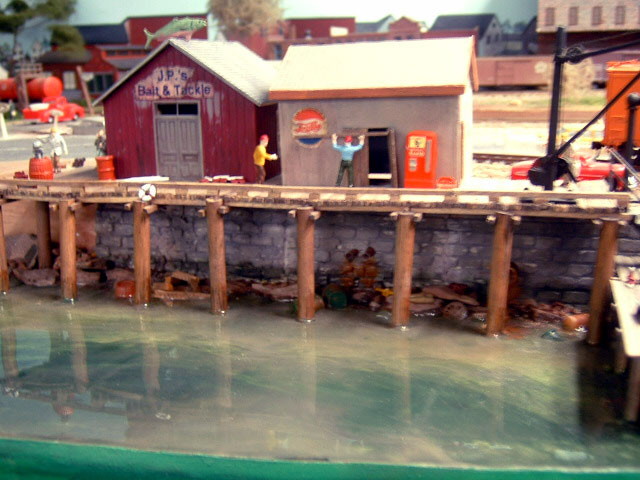
The Tidewater transfer is arriving in Tidewater Yard. Derwin did a fairly good job of keeping this yard running smoothly through the session - especially considering it's the first time the yard has been operated. Oh, and the fact that it is Derwin makes it doubly surprising! Ha!


Next time - a few more buildings, the fascia, and a start on "scenery".

Scott

Tuesday, December 12, 2006

Let The Light Shine - March 19, 2006

Well, a week later and things are really taking shape! I've gotten all the layout lighting done. I used inexpensive incandescent fixtures fastened behind the valance and compact flourescent bulbs. You'll notice some areas have a yellowish cast to the light. There I used some cheap dollar-store CF bulbs. The more natural coloured light comes from daylight CF's I purchased at Home Depot.

The walls and backdrop are painted and track laying has begun in ernest.

The first photo shows Stevenville on the left which bends around into Bayside Yard (bottom photo).


As you can see by the sign on the valance this area is Derwin's Drop. I won't get into the details on the origin of the name but it involved a person named Derwin and something very expensive dropping to the floor.

It appears there will be quite a grade here, but the benchwork was built like this to accommodate an open-pit mine of some sort here. The track will be on a grade but not nearly as much as this benchwork would indicate.


I made a sign for each town using a computer and laser printer. The letters are white on a printed black background. I cut the excess paper from around the sign and glued it on the valance with 3M Photo Mount (or something like that). I was surprised at how closely the printer's version of black matched with my paint store's version of black.

This is Kenville, at the bottom of the grade from Derwin's Drop.


This is the west end of the layout. Tidewater Yard is on the left and Chappellton is on the right. In the bottom photo you can see the background painting from the old layout. I left it there just in case I would be able to use it on the new layout, but I don't thnk it will blend with my plans for this area.


That's it for this installment. Be prepared for a big shock with the next entry!

Scott

Friday, December 08, 2006

Fresh Paint - March 12, 2006

If I remember correctly this had been a busy week of finishing walls, installing fascia and backdrop painting. I think you'll agree that the layout sure looks a lot differeant from my last post. It really only was a week!

This picture is a view of Bayside Yard. You can see a rough track plan against the backdrop and some track has already been laid out ready to be installed. You can see the wooden layout supports used in this area just under the yard.


This picture is a view toward Stevenville (left) and Bayside Yard (far right). Not all the backdrop has been painted at this point and walls still need some finishing.


This is the other half of the room. The area cluttered with pieces of foam will eventually be a rural type scene. Chappellton is in the far right. Tidewater Yard is in the dark on the left. I still have to install the layout lighting over the peninsula.

You can see some of the painted backdrop from the old layout in the distance.


Here is a better view of Tidewater Yard. Bayside and Tidewater are about the same size - roughly 12' long x 18" deep. Room for lots of storage and sorting capability.


Next - layout lighting and walls are completed, most of the foam base is installed, and tracklaying begins in ernest.

Scott

Friday, December 01, 2006

The Room Takes Shape - March 5, 2006

Ok, the benchwork is all up and I'm at the point of laying down the foam to support everything. One the left is the peninsula and Tidewater Yard (with the milk crate sitting on it). The approach track to this yard runs under Bayside Yard and curves to the right at the far end of the room through Chappellton. You can see I've reused the old benchwork at the far end of the room. You can also see the bottoms of the new benchwork supports on the near right.

This is a closer shot of the new supports. They were originally "U" shaped but were cut in half to make "L''s. They are 1" square tubing and a VERY strong. I screwed a length of 2x4 onto the top side each one to fastend the foam top to and then screwed them to every stud. This benchwork is very solid.

This photo is a view from Derwin's Drop to Stevenville (far left). Bayside Yard is on the far right but cannot be seen from this angle. The height difference between Bayside Yard and Tidewater Yard is about 4.5" and is achieved in one 4.5% grade between Derwin's Drop and Kenville. This will provide an excellent opportunity to incorporate a helper service on the layout.

This picture is a view from Chappellton (near left) to Kenville (far left). You can see Tidewater Yard on the far right.

You can get a better view of Bayside Yard (far right) from this photo. Stevenville is on the left.

So, there was a lot of work accomplished in a little more than a week. Many hands make light work! Next time there's fresh paint!

Scott

Wednesday, November 29, 2006

Reconstruction - February 23, 2006

Finally, the old layout is gone, walls have been torn down and rebuilt, and the room is almost ready to start building the new layout. I now have a 12' x 31' room to fit a model railroad into.

These pictures were taken on February 23, 2006, a little over 2 weeks after we started work. The first one is a view toward the part of the room that used to be the Summer Valley Railway. You can see the old benchwork and supports for the new valance hanging from the ceiling on the left side of the room. You can see lots of junk too, but more on that later.

There was a wall 14' from the far end when we started.


This picture is a view toward the other end of the room. The entrance to the room is on the right just around the corner past the tool rack on the wall. The wall had to angle in for a bit on the right to accommodate a landing at the bottom of the stairs. The door at the back of the room leads to the future Dispatchers Office / Control Room / Staging Area / Paint Room. At this time it's being used for another purpose (more later...)

The wall at the far end and the wall on the right were not there two weeks before this picture was taken.


This photo shows the output from my project management application. It's nice to get printer paper that sticks to the wall. And the handwriting font looks sooo... much like my own writing, it's amazing!


I mentioned junk earlier. The main room looked a lot more cluttered before I moved most of it into the Dispatcher's Office. Yikes!


Next, construction of the new room progresses and benchwork construction begins.

Scott

Tuesday, November 28, 2006

The Destruction - February 2006

One weekend around the first of February, 2006 we began the grand destruction. In one day the Summer Valley Railway was no more. While the work crew furiously tore up track and plaster we tried to save whatever we could.

Thankfully I had used track nails and good ol' wood glue (wink) to secure things so I was able to salvage about 90% of the track and turnouts. They would certainly come in handy later on the new layout.

All the buildings, vehicles, trees, and other scenic items were packed away long before the crew arrived, of course. It sure wouldn't have been good to have those around when Brian and Clayton got started working! There wouldn't have been anything left!

Unfortunately, I did not take any pictures of this phase of work. It all happened so fast I didn't even think of it. We left the old benchwork where it was, tore down the wall between the train room and family room, built a new wall at the bottom of the stairs, and another new wall at the far end of the room for a dispatcher's office/storage room/staging area. As far as Kim new it was to be a room to spray clearcoat on her tole painting (which it just might be used for some day). Ha!

The next update will include pictures of the nearly empty room after the basic destruction/construction was completed.

Later!

Scott

Thursday, November 02, 2006

Momories of the SVR

Here are some pictures from the old layout. Next time I'll post some destruction/construction photos of the new layout from last Februrary.


Backtracking

I used to have a website for my old model railroad - the Summer Valley Railway - but after the free hosting server "went away" I didn't bother finding a new server. Now, since a friend of mine started a blog for his model railroad - the NeverDone Railway I thought it would be a simple way to get a web site going for my new layout - the Bayside and Tidewater.

So, I thought I would backtrack a bit with the first few postings to let you know where I've come from to get to where I am now. This group of pictures is from the last run of my old layout which was 12' x 14'. The next few posts will show you the changes that happened last winter to creat the new 12' x 31' layout.

Scott

The local has to wait at yard limits for the Jordan Yard operator to clear an arrival track. Photo taken during the last Summer Valley Railway Op session on Jan. 8, 2006 (Greg, Steve and Brian)


The sun is setting on LookQuick Pass as the last train to ever run on the Summer Valley Railway makes its way from the UMG Subdivision. The MOW crew have gathered to bid farewell.